
I think a lot of people might be a bit apprehensive when it comes to assembling the magnet, here is an easier version that I did a few days ago.
I just assembled a quick and dirty version of the Magnet, this is a version that requires parts
that I would think are available just about everywhere. I think that the following the proper instructions will make it easier to use but if you’re like me, not particularly handy, and living outside the U.S. then these parts and this method will get you a working magnet. I just took the magnet with me to the shop and checked that the parts actually fitted in the plastic before purchasing.
This is only a cheat for the section of the manual regarding the rods, which is the only part that requires anything in terms of DIY skills.
The parts you need are:
-
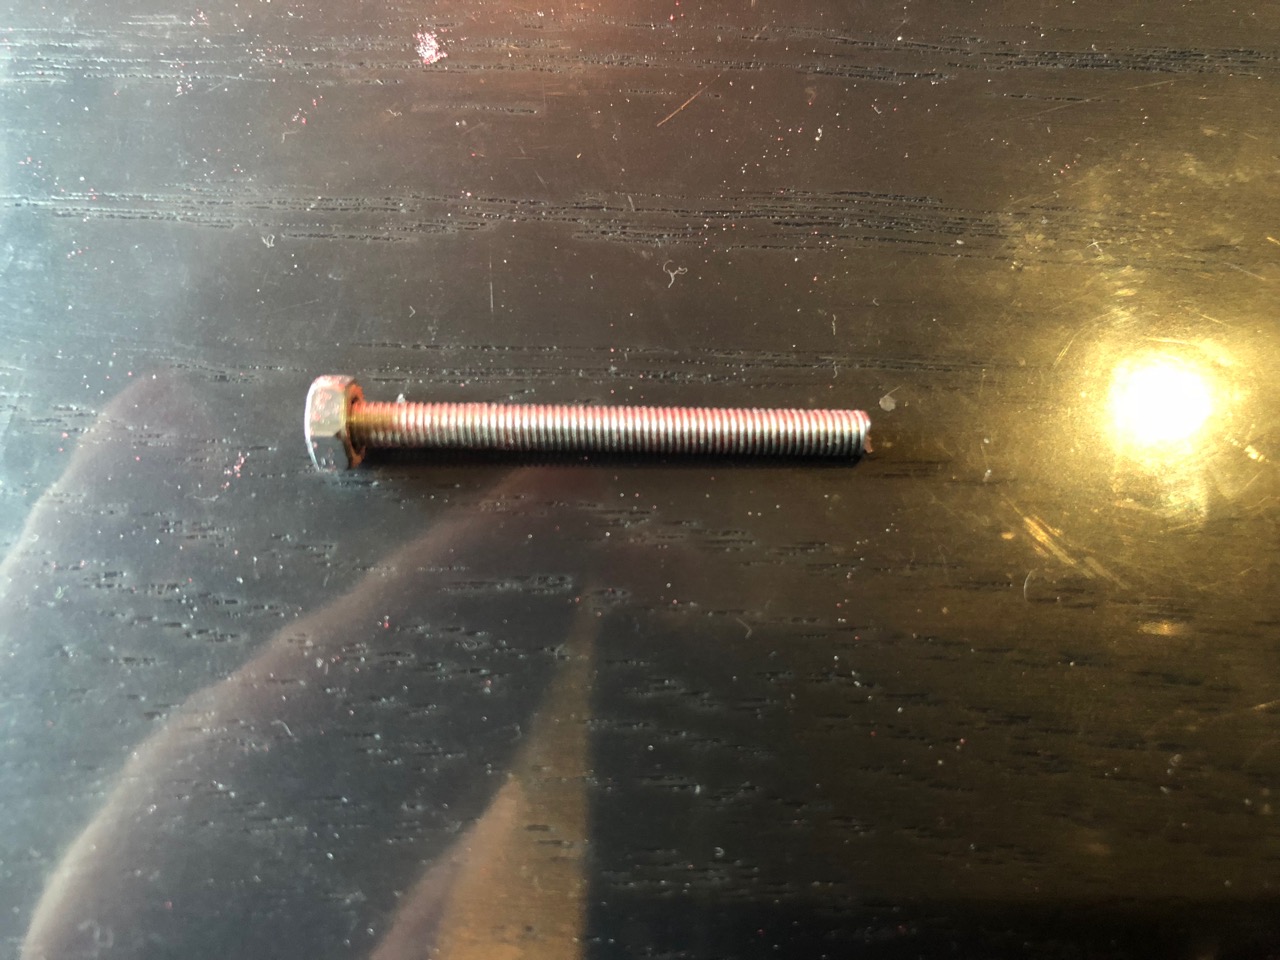
A threaded rod, M3 (or 3 mm diameter) will work, long enough to cut it into 4 rods for the magnet.
-
8 bolts that fit onto the rod and also fit into the thickest section of the holes in the plastic.
-
A spring that har a large enough diameter to fit onto the threaded rod, but also small enough to fit into the thickest of the holes in the plastic. Long enough so that you can thread it on each of the 4 rods.
Assembly
Use a saw to cut the threaded rod into 2 rods of different length. I started with two ords about 7 cm long and two rods at about 3.5cm. Giving you in total 4 rods. These were too long, leaving a significant portion of the rods sticking out, which may scratch you guitar if you’re unlucky. But trimming the rods afterwards is just to take it out and trimming them.
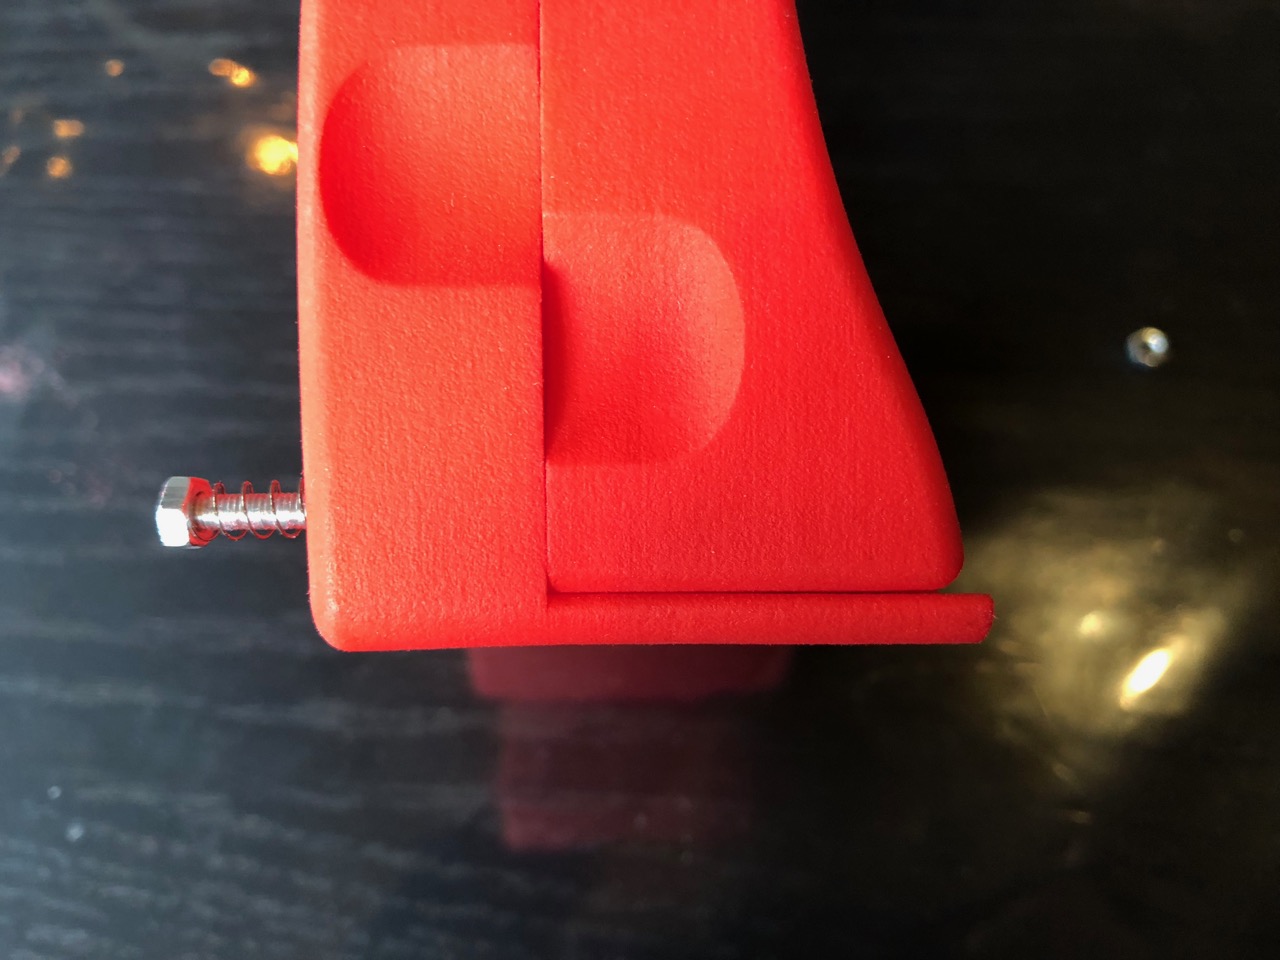
Attach 1 bolt
Cut a suitable length of the spring. I would have had this a bit longer that this but it depends on the tension of the spring.
.

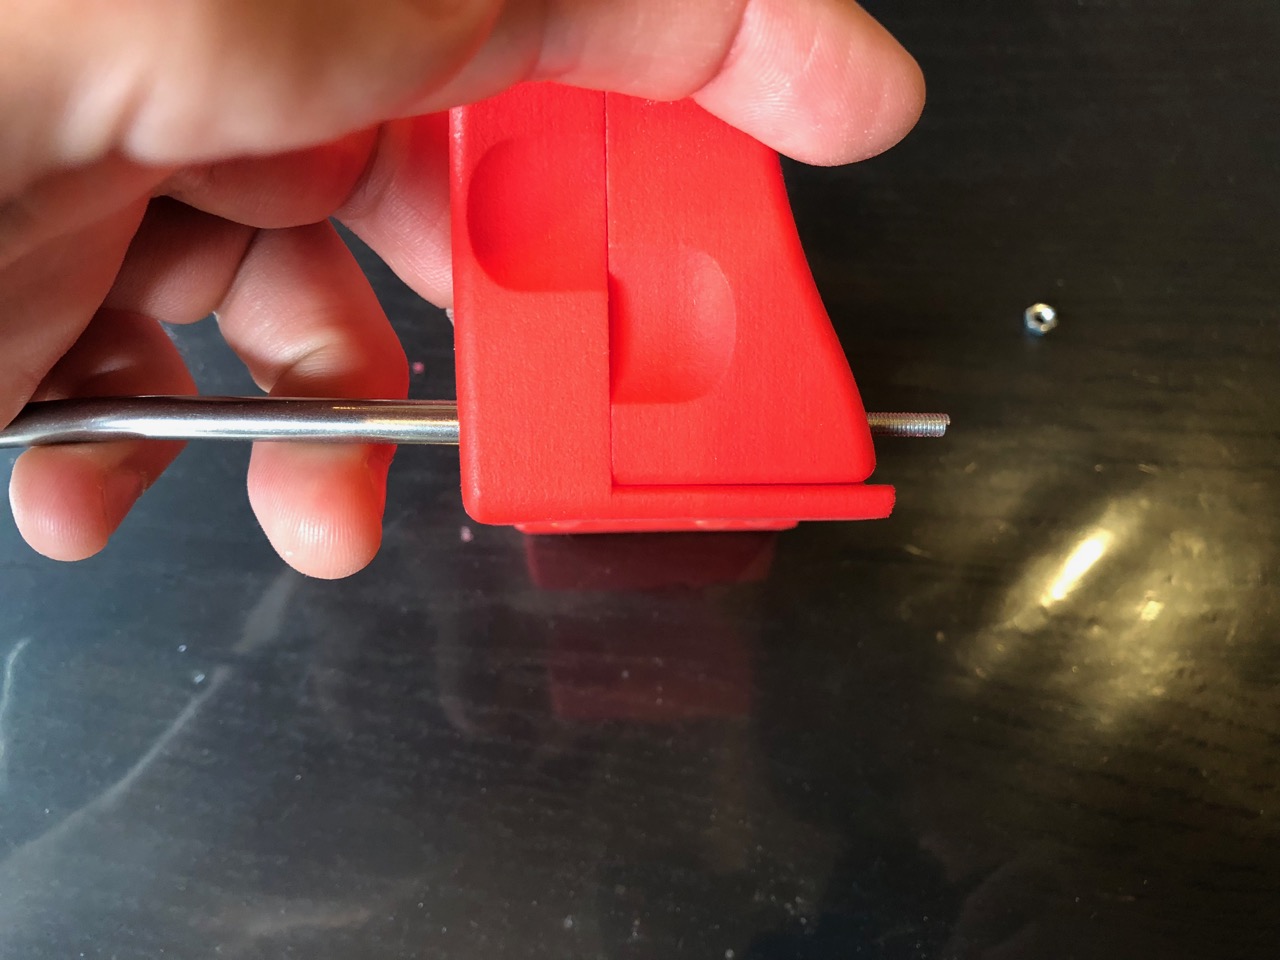
Insert rod into magnet
Push rod all the way through with something pointy(tremolo bar FTW!)
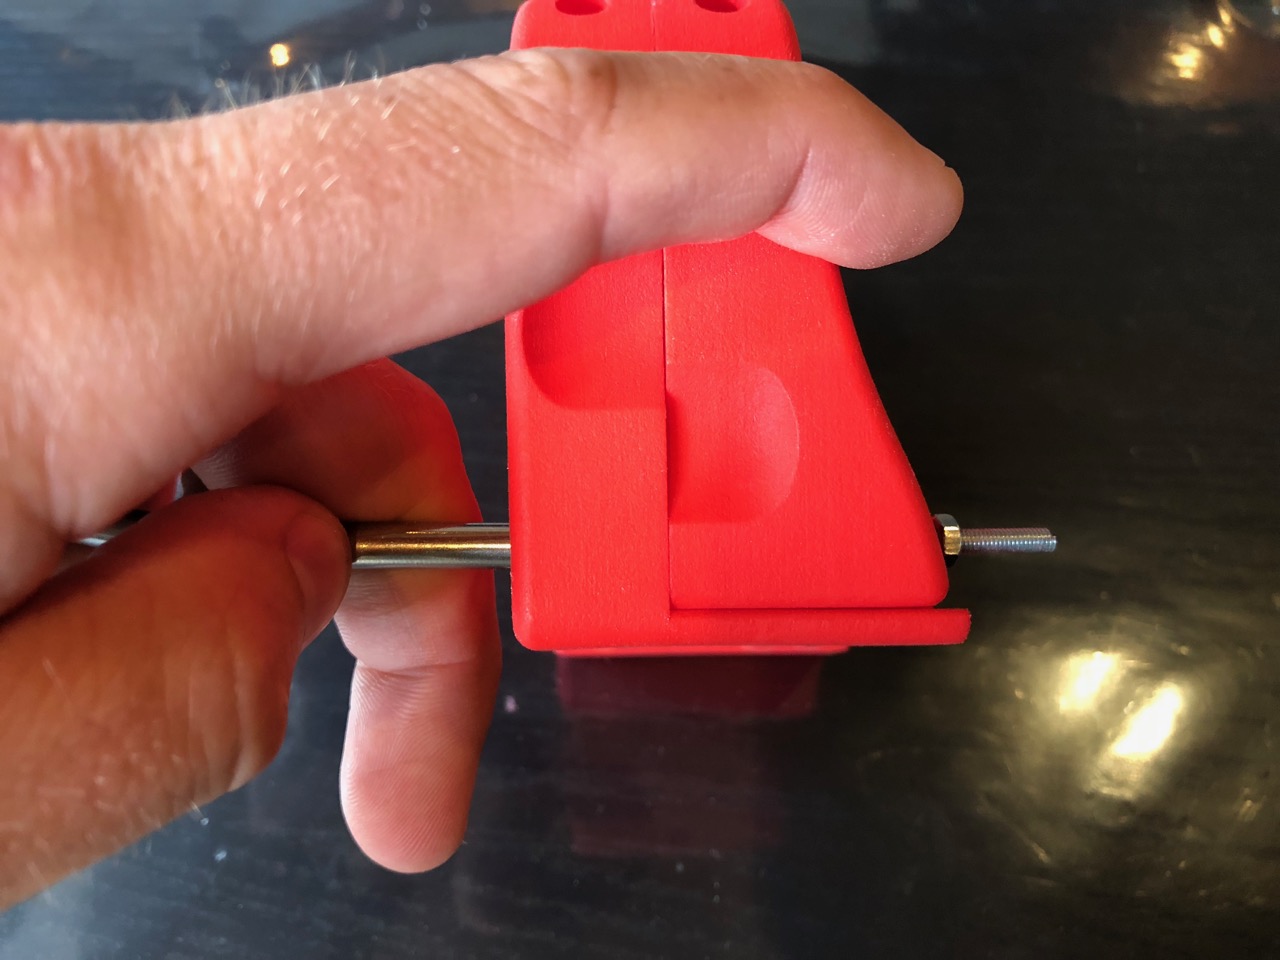
Screw on second bolt. Here you can also adjust the tension by how far you screw in this bolt, note that screwing it in too far will make it hard to open the magnet enough for it to fit onto a guitar neck phone.
Now this is absolutely not the optimal way of making the magnet, but it will give you a functioning one.
I thing it would probably open and close a lot easier with a if made properly, there might also be some wear inside the magnet as the threaded rods are used instead of non threaded ones.
I also suspect that the bolts will need tightening, maybe this could be addressed by using two bolts on each side.
I have 0 DIY skills so please share any improvements/hacks should you have any.