
I’ll try keeping Reaper open more often when I play! This really could be a lot of my issues in terms of excessive mistakes; I make a lot more stupid f***-ups when I hit record, lol
1 Like
Oh man, if only I had known that before becoming a guitarist… should have just taken up saxophone lmao.
Seriously though, I love learning about amp recording techniques/tips; especially considering how it’s so new to me. I love Glenn’s channel, and I’ll definitely take a look at Kohlekeller Studio.
I’ve never heard about these, seems like it could be an interesting route for recording. Gonna have to check it out.
So true. The reason I stopped using BIAS is that is sounds awesome when you just playing around alone, but once you try to put it into a mix… disaster
1 Like
Me too!
Sorry for a slight off-topic. I’m not a BIAS fan, but there’s one thing it’s still good at: clean strumming on electric, lol. I occasionally record local highschool bands in their songwriting courses, and they sometimes do acoustic-style cowboy chord strumming parts on electrics.
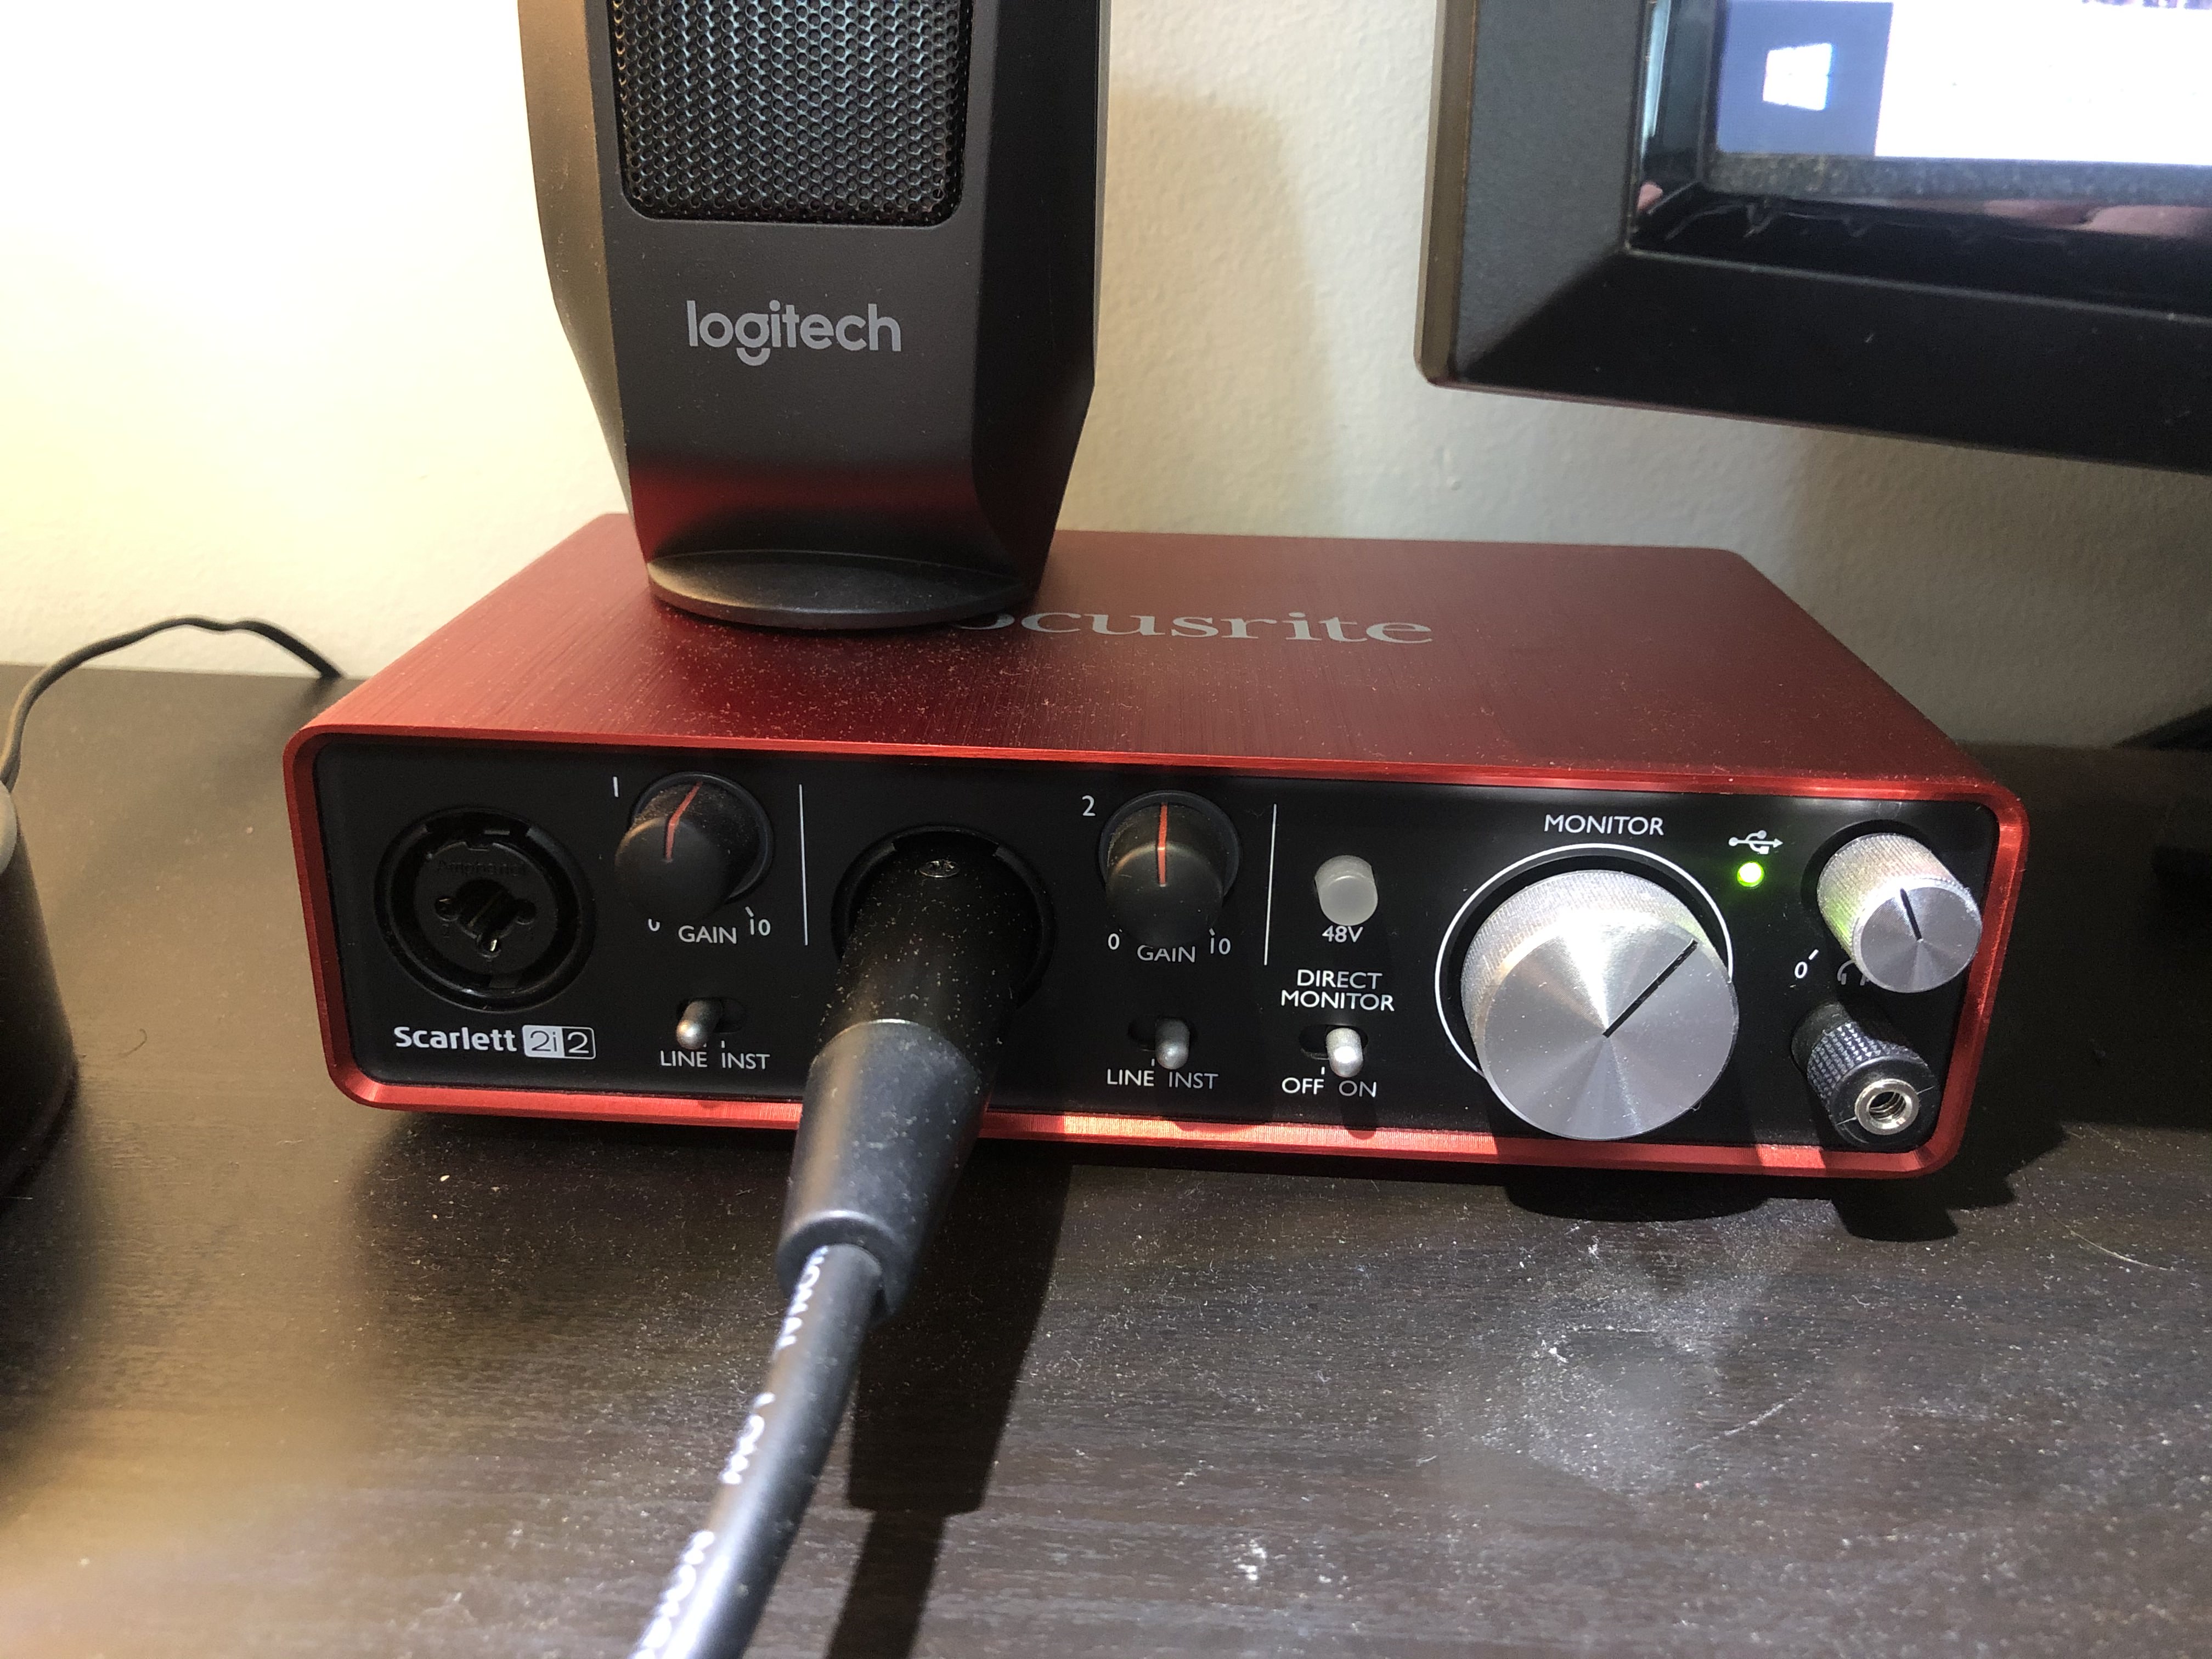
We record everything straight to DI, no amp micing. In rock/metal I trust NeuralDSP’s amp sims with my life, but here they didn’t work out. Although fitting for high-precision arpeggiated parts etc, they were too clangy and unpleasant for campfire chord brushing. If you’re not controlling dynamics extra well while tracking these kinds of parts, they can respond the wrong way, and that happened easily with the beginning guitarists I was working with.
I was able to help the players a bit more with BIAS. It has tons of settings and they helped me get the dynamic response, clipping, saturation amount and compression right so that the strums sound like the players originally intended. Was happy to get some more use out of BIAS.
1 Like
Off-Topic2: The sequel…
Well, I guess many programs could be set up for your needs, so if I spent some time with BIAS I might end up with the satisfiyng results. But as an old Revalver user I found it easier just to stick with it. It has some flaws, and it sounds not so impressive but I’m kinda get used to it. And one thing that I really like in Revalver is that you can stick any VST plugin in you effects board, so I don’t need additional VST host.
P.S. …and it has that interesting but useless feature )) of tweakin up your virtual amp. Stuff like tube type, voltage, resistors and capacitors values, type of transformer etc.
1 Like
Hey guys, OP here again… thanks a lot of the tips above!
So I finally got around to recording something to show you guys the difference. I just did the intro to the song “Sea of Lies” by Symphony X (great band and album btw) with a little lick at the end. Keep in mind, both are from the same take; I had the camera rolling when I hit “record” on Reaper.
First, here’s my straight phone audio/video. It’s a little quiet, but I still feel like I got a more badass reverb sound from the room (as Peter C put it, how a guitar should sound):

Next, here’s the same clip — but through Reaper:

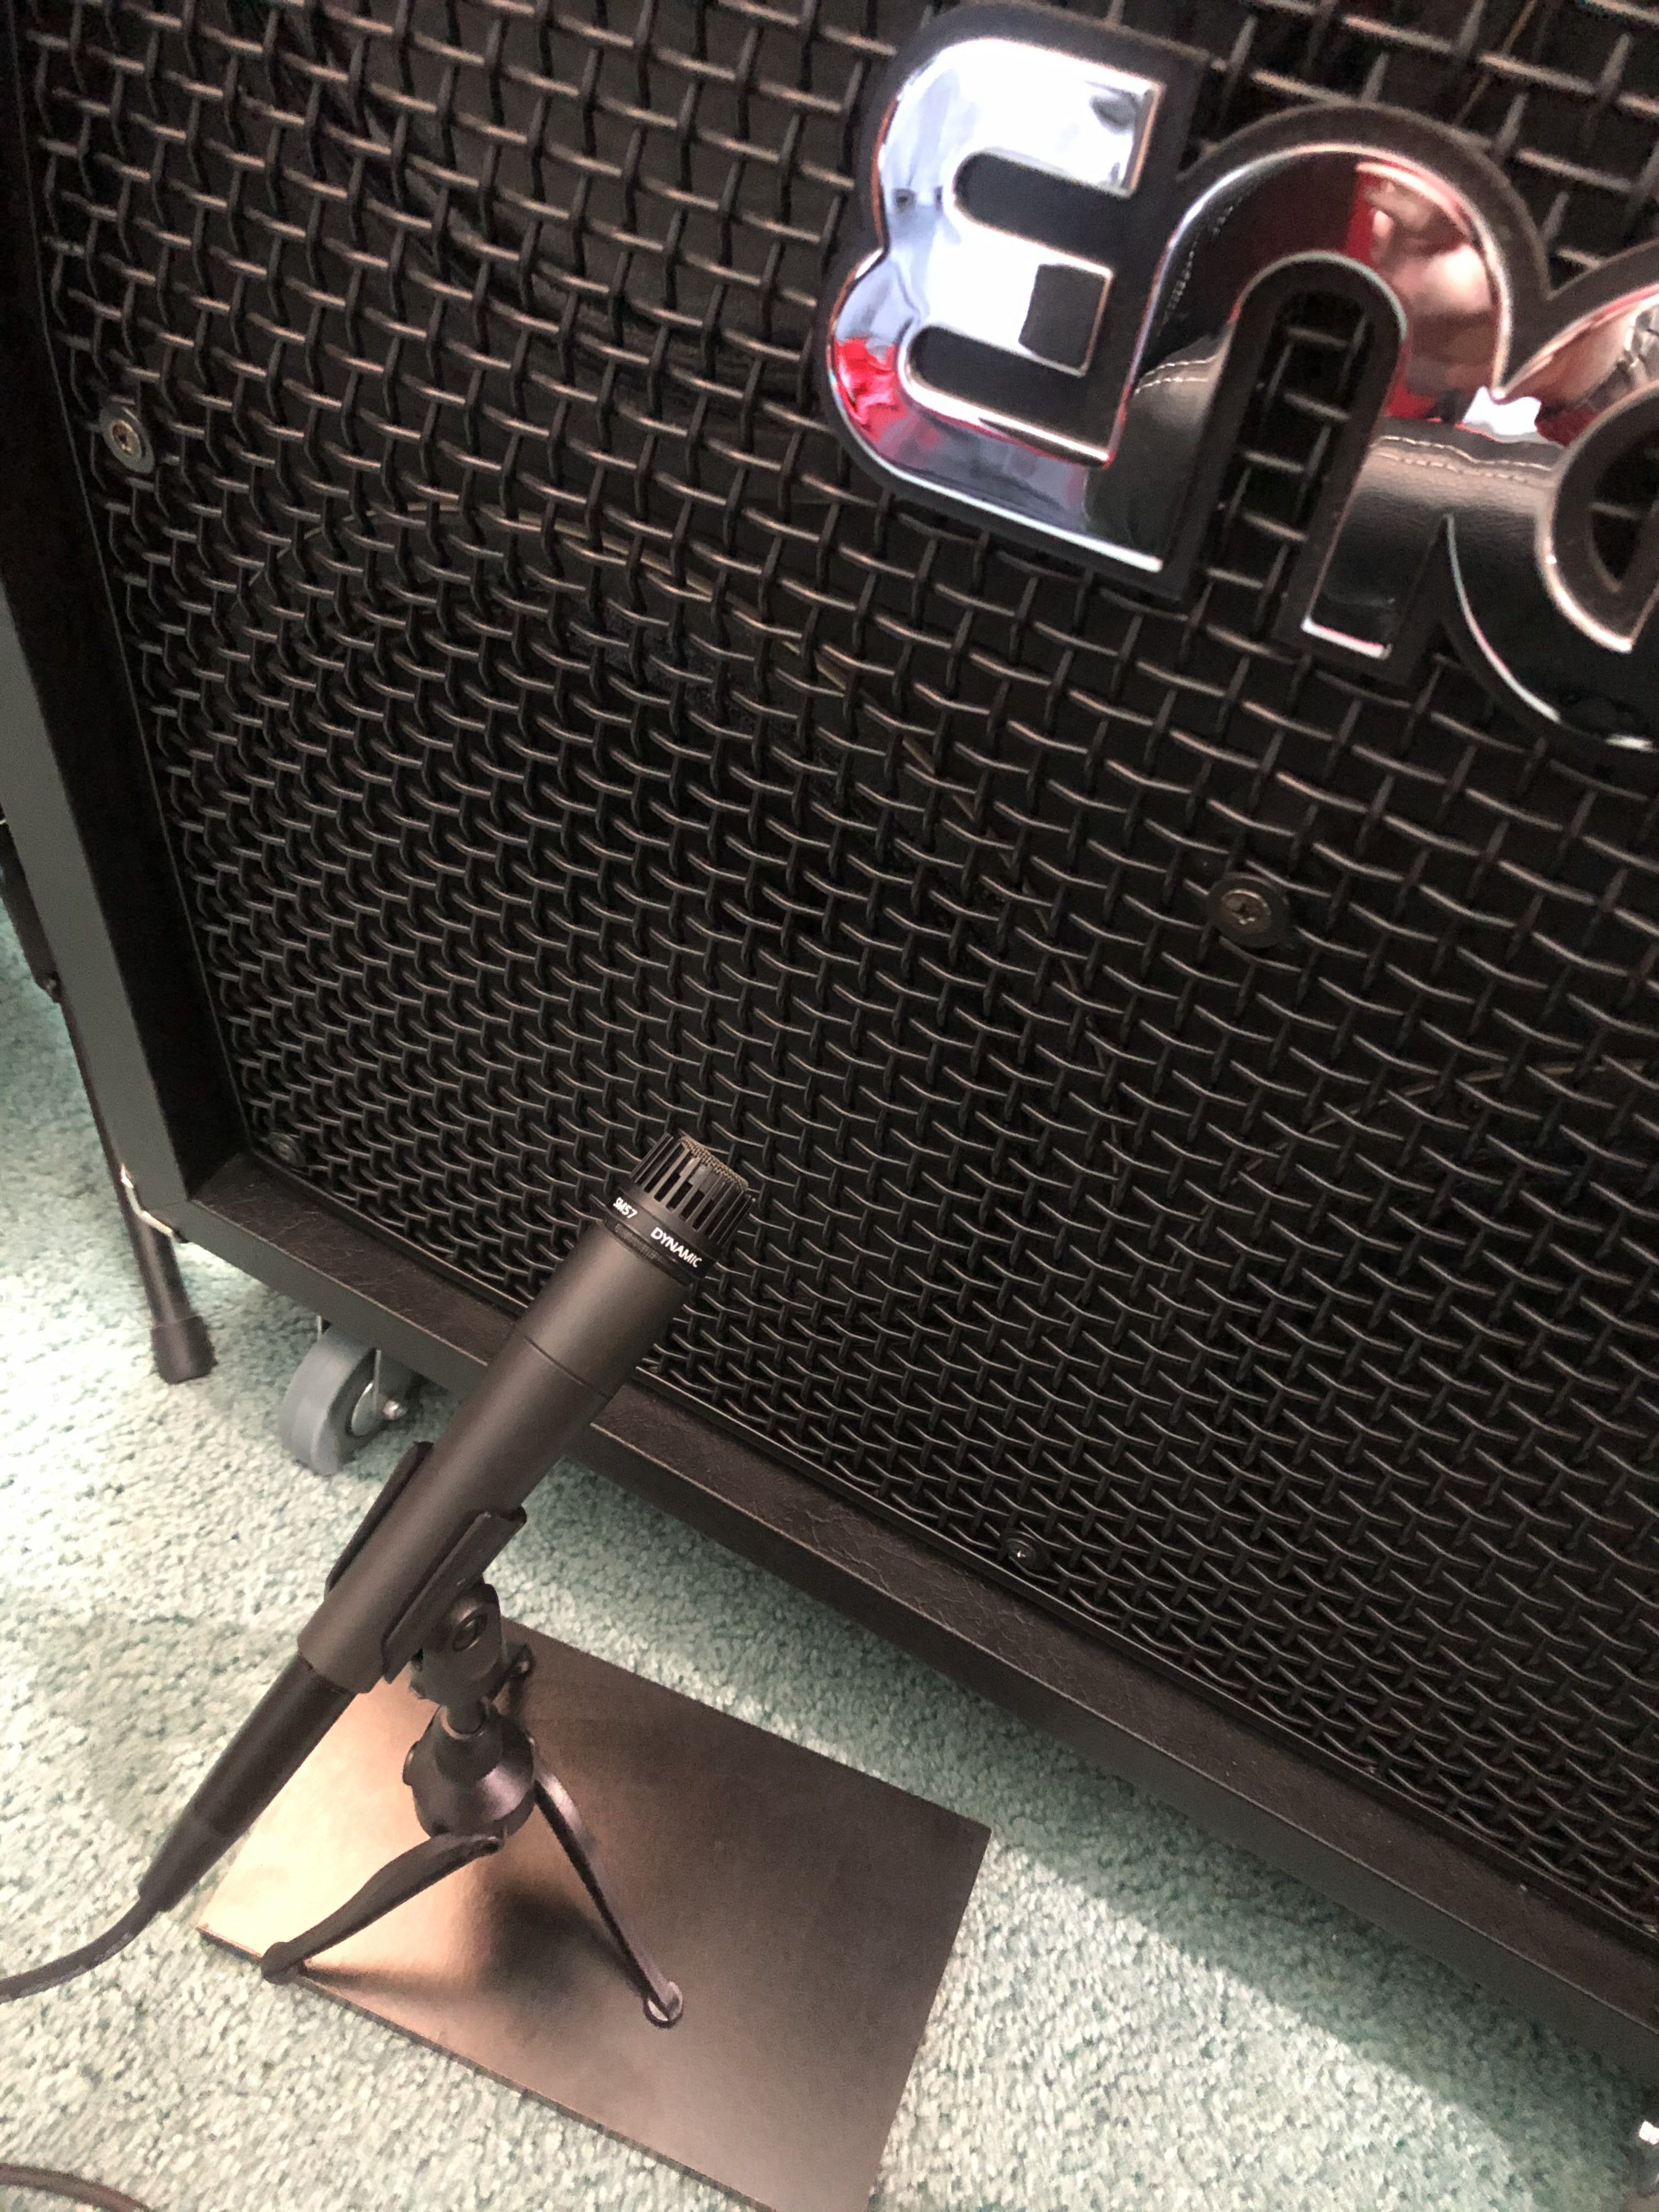
As for my actual amp/ pedal setup, I’m just using a TS9 tubescreamer going straight to the amp. I don’t know if this matters, but I’m using the bridge pickup only. I got pictures of the settings/mic placement right here:
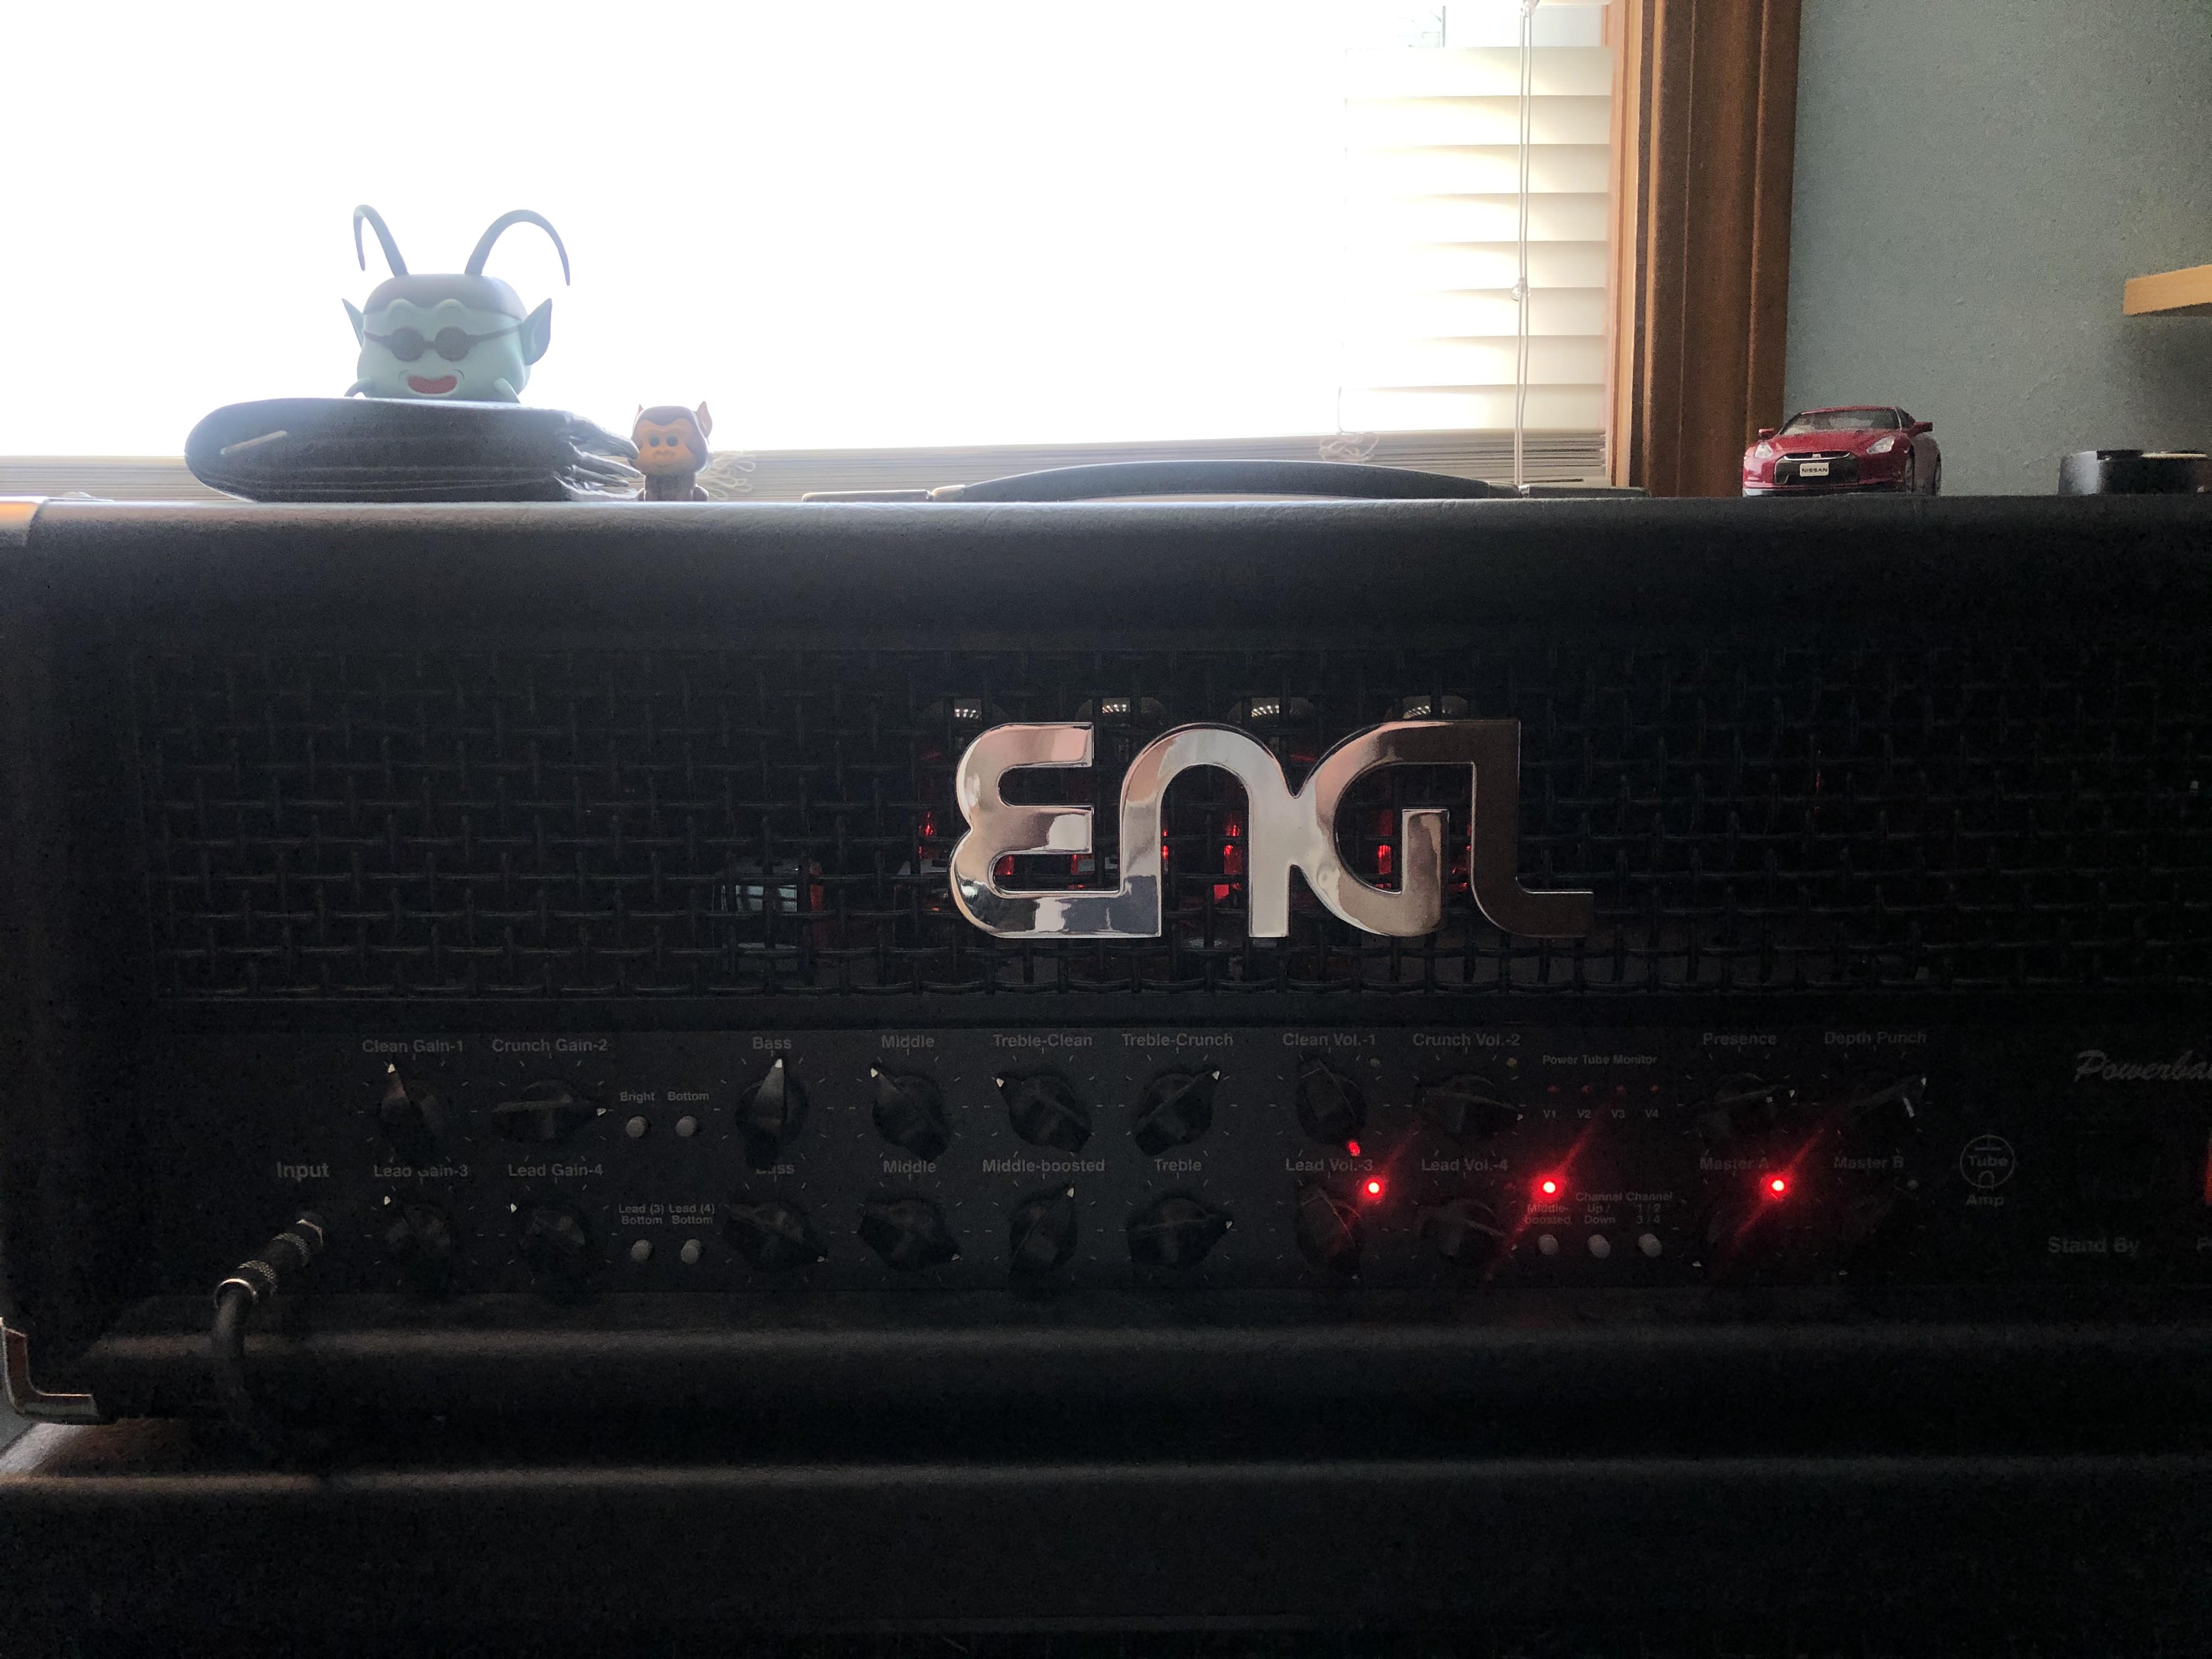

Now, I’ll be the first to admit that my playing wasn’t even close to perfect. But is clinical error really the cause of my dogs*** tone, or can I tweak my setup in a way to get the most out of it? Would love to hear what you guys think!
1 Like
That was hardly dogshit tone at all man. Your playing sounds good.
Maybe too thin is what you mean? It could sound beefier, but I’m not sure what to say beyond that.
I would ask @Drew, @element0s, @BillHoudini
I’m not very knowledgeable about modern metal tones and they have helped me in the past. We do have a recording thread here.
1 Like
Thanks man, I get what you’re saying about the gain level tho.I’ll try pushing it a litle higher next time I’m in Reaper to see if it gives me any improvement.
I guess what I’m trying to say overall is that the recording has a sort of “dirtiness” to it. Like I’m hearing it over an Xbox mic.
I watch these dudes on YouTube, and their tones sound so clean and soaring. Like you hear the distorted guitar — but it sounds clean-cut (sorry if I’m being confusing). Same thing with Mike Romeo’s tone on late 90s Symphony X albums, and a lot of well-produced prog metal out there.
Perhaps it’s a lack of any reverb, or maybe noise gate? I’m playing Laiho-style, aka bridge pickup with ZERO reverb/effects.
From my experience I may say that it’s 80% of correct muting technique and 20% of gear. As for reverb… Usnig reverb usually makes sound ‘smoother’, especially for solo.
2 Likes
Since I was tagged in this thread (thanks for the vote of confidence, @guitarenthusiast) I’ll throw a couple pennies into the ring here.
Couple important things:
The way the sound hits your ear when you’re standing about 6 feet from the cab with the speaker aimed at your legs is totally different than the sound of a speaker cone two inches from your ear. This is probably the thing that freaks guitarists out the most when they hear their amp mic’d up for the first time.
A great recorded guitar sound involves very tight playing, a well-maintained and properly tuned instrument with multiple takes panned across the stereo field (ie, double or even quad tracking) and also BASS GUITAR. All recorded guitar tone sounds like anemic garbage without bass guitar.
With those disclaimers in mind, here’s some advice:
The biggest impact you can make on your sound with the rig you have purely on the recording level is going to be mic placement. Here’s a really quick n dirty rundown of how mic placement with an SM57 affects your tone. I suggest doing all these moves with the tube screamer turned on and your amp’s settings in relatively neutral positions.
Closer to the speaker = more low end. SM57s have what’s called “Proximity Effect”. The closer the mic is to the source, the more low end you get.
Further away = more definition from the speaker. You can get more “character” from a speaker as you go further out, but your recording environment starts to affect the tone more. Room reflections etc. etc.
Closer to the speaker cap (the centre of the speaker) = more high end. In an SM57, getting too close to the centre can result in “fizz” or “harshness”
Closer to the speak edge = darker tone with more emphasis on midrange. Midrange is the body and soul of rock guitar, but if you go too far your tone can sound “honky” or maybe not aggressive enough.
The speaker cap will have a seam that connects it to the rest of the cone. This is often considered the “sweet spot” of a speaker mic’d with an SM57. This is a solid starting point.
You can also adjust the tone of the mic by adjusting the angle. A common move is to place the mic in the “sweet spot” described above, but with the mic tilted roughly at a 45 degree angle. This can produce a lot of desirable effects such as fine tuning proximity effect and dialing out harshness without losing aggression.
Also, these mics were made to take loud sounds. Generally speaking, your speakers will sound best when they’re actually pushing air and getting the wood from the cab to resonate. Don’t be afraid to push the volume if you haven’t already. And listen to each speaker–some will sound better than others.
Once you find a mic position you like, you can build a tent with a moving blanket around the cab and microphone to help isolate the sound and cut down on possible nasty room reflections. Although I personally don’t think this will be a huge issue unless you’re pulling the mic farther away from the speaker.
When you’ve found the best speaker on your rig and found the mic position that has the highest amount of “good stuff” and the lowest amount of “annoying shit” then it’s time to start messing with the tone stack of your amp. At this point, you should be MOST of the way to having a tone you like. Flick the various EQ and gain knobs back and forth from one extreme setting to the next rapidly. Don’t give your ears time to adjust to the tonal differences. Crank the presence up until it hurts, then turn in back down until it sounds weak. Repeat the process, gradually zeroing in on your ideal settings. Work fast and trust your gut. You’ll gradually learn how each knob affects the tone stack and how the knobs interact with one another. But you gotta systematically push everything to extremes so you can hear what too much of something sounds like. Again, your instincts will be your best friend here. Don’t overthink it.
Repeat this process for five to ten years. The only way to learn is to try this shit out for yourself and listen.
6 Likes
Thank you @guitarenthusiast for the shoutout, but @element0s gave a fantastic response, I have absolutely nothing to add that could make the thread better.
I’m a complete noob in real life mic placement techniques, so I prefer using IRs and cab sims. My neighbors would kill me if I tried the traditional approach haha.
Also good luck to the OP regarding Michael Romeo songs. He’s a fantastic guitarist and has quite an arsenal of tricks.
2 Likes
Wow man… now this was the exact kind of answer I was looking for.
Really good tips, I’ll definitely have to try experimenting with mic placement.
Thanks!
Thanks! Love Mike Romeo, one of my all-time favorite guitar heros
Bit late in responding, but what would be interesting to hear would be your mic’d track in the mix. It almost always sounds better and hides some of the little less than perfectly played parts. Unless a tone is shaped to sound good on its own, I often find guitar tones in isolation to sound pretty horrible and some of the more horrible tones sound fantastic in the mix and really cut through. The inverse is also true - an epic tone in isolation can get completely lost in a mix and be very underwhelming.
2 Likes
I think this is where using IRs can be a real lifesaver!
As in: You won’t have to record a new take if you suddenly realise the mic was not placed optimally, you can just switch to a new IR using the same take.
PS: you can also record both the real mic an the direct amp output at the same time for extra flexibility
3 Likes
couldn’t the same result be achieved by re amping? I know Radial makes some really good re amping boxes, maybe those are an option to explore tones
As far as I know reamping is only possible if you record the DI = direct output of the pickups (guitar straight into the interface). Probably some amps allow this as well i.e. you’d record two tracks at the same time: the amped track and the DI track
1 Like
If you mean it falls apart as in sound quality, there is a lot that you can do to get better sound. Although you can do a lot with Reaper, Studio One is much more intuitive and I highly recommend checking it out via their 30-day trial.
I used to use mics when recording on analog equipment and I had great results as long as I used a limiting compressor. You should use the same tools when recording using a DAW, and you MUST make sure that the signal never goes above 0.0DB or it will sound like garbage. I always shoot for -6.0db, raw. What I record is raw and unaffected this leaves open the possibility of getting whatever type o sound I want, and it leaves plenty of headroom to fit other instruments and guitars into the mix.
Next, there are many tricks that you can learn to fatten your sound. One example is duplicating a track and add 20 milliseconds to the duplicated track. The result sounds like two separately recorded tracks that you pan in opposite directions to improve sound quality and provide extra room in the mix to add phrasings, leads or whatever else you can dream up.
Taking your time and learning all of the recording tricks will absolutely pay off. In the end, the most important thing is to be in time and in tune. Don’t overuse effects and don’t use tools like autotune or Melodyne. If possible, just record again until you get it right. Plus, there is always the option of step recording, which means recording pieces at a time and then splice it all together afterwards.
Again, I think it’s better to have some mistakes in there, you don’t want it sounding to perfect or it will sound off. Besides, sometimes, the coolest things in music happen by accident. There are many, many examples in popular music where the mistakes were kept, and they actually improve the song.
Edit:
I agree with the other’s, lots of good tips! I am also a big fan of using convolution reverb, I would like to add that you should some time learning more about using EQ and Compression and delay. These 3 tools alone, will help you reach the professional sound that everyone strives for.
Good luck!
2 Likes
Thanks a lot for the tips! I’ve been reading up a lot on double tracking and even triple tracking recordings, so it’s definitely something I’m considering for my sound.
And I totally agree about not saturating your sound with crazy effects to cover mistakes. One of the reasons I practice with such a raw tone
The sky is the limit here. I would focus on doing tight double-tracking to start with. hard pan your tracks 100% L/R and listen for rhythmic/pitch/tuning inconsistencies. It’ll teach you a lot about your playing. Moving up to quad tracking/triple tracking can increase the “depth” of the tone but performance issues will become more apparent. Also, the more layers you record, the less gain you want to use. The gain on your rhythm guitar tracks will add up really quickly so playing with slightly less gain than usual will have more clarity. You’ll also play a little harder which typically sounds better.
1 Like